A Review of Airways
One of the main steps of cardiovascular life support is to breathe for patients who cannot breathe for themselves. In its most basic form, a rescuer will simply breathe into the victim’s mouth thereby providing some oxygen through exhaled air. Even in this simple act, however, the rescuer must establish an airway. There must be a direct and uninterrupted connection between the flow of air and the patient’s lungs. There are a number of ways of achieving a patent airway. It may be as straightforward as performing a head tilt and chin lift. In complex ventilation, it may require endotracheal intubation. We review the airways that you might encounter in life support situations.
Airway Maneuvers
Head tilt/chin lift
The head tilt/chin lift is the basic maneuver for establishing an airway in someone without a cervical spine injury. By tilting the head back, the rescuer straightens the patient’s airway from the lungs, through the pharynx, with only a slight curve at the mouth. The chin lift pulls the tongue out of the airway. This is especially important in situations when the patient is unconscious, because the flaccid tongue can block the airway.
Jaw thrust
The jaw thrust maneuver should be considered in all victims who may have sustained an injury to the cervical spine. In this maneuver, the neck is not bent but is kept stable and in line with the rest of the spinal column. The jaw thrust maneuver is similar to the chin left in that its goal is to pull the tongue out of the airway. It is accomplished by moving the mandible forward/anteriorly without moving the neck.
Advanced Airways
Oropharyngeal and nasopharyngeal airways
As the name implies, an oropharyngeal airway is placed in the mouth and a nasopharyngeal airway is inserted through the nose. The distal end stops at the level of the pharynx. The nasopharyngeal airway has some advantages over an oropharyngeal airway, most notably it can be used in both conscious and unconscious patients (because the oropharyngeal airway can stimulate the gag reflex). In a deeply unresponsive/unconscious patient, an oropharyngeal airway is safe to use because the gag reflex will be depressed. Another advantage of the nasopharyngeal airway is that it can be used in patients with mouth trauma, where an oropharyngeal airway cannot or should not be used.
Since oropharyngeal airways come in different sizes, it is important to pick the correct size for the victim. You can get a rough sense of the correct size by placing the airway at the side of the person’s face and visualize how it will extend into the pharynx. You know that you have selected the correct size if the distal part of the airway reaches the mandible (the flange is at the patient’s lips). Sizing the nasopharyngeal airway follows the same approach, with the exception that you align it with the nose instead of the mouth.
When placing the oropharyngeal device, it is important not to press the tongue into the airway. Clinicians will either turn the curve of the device 180° or 90° respective to its final position before inserting it. Once the airway is advanced into the pharynx, the device can be rotated into place.
When inserting a nasopharyngeal airway, it is important to remember that the nostrils actually extend posteriorly, not caudally. In other words, the tube should be placed towards the back of the head not towards the top of the head. Also, remember to lubricate the nasopharyngeal airway before inserting it.
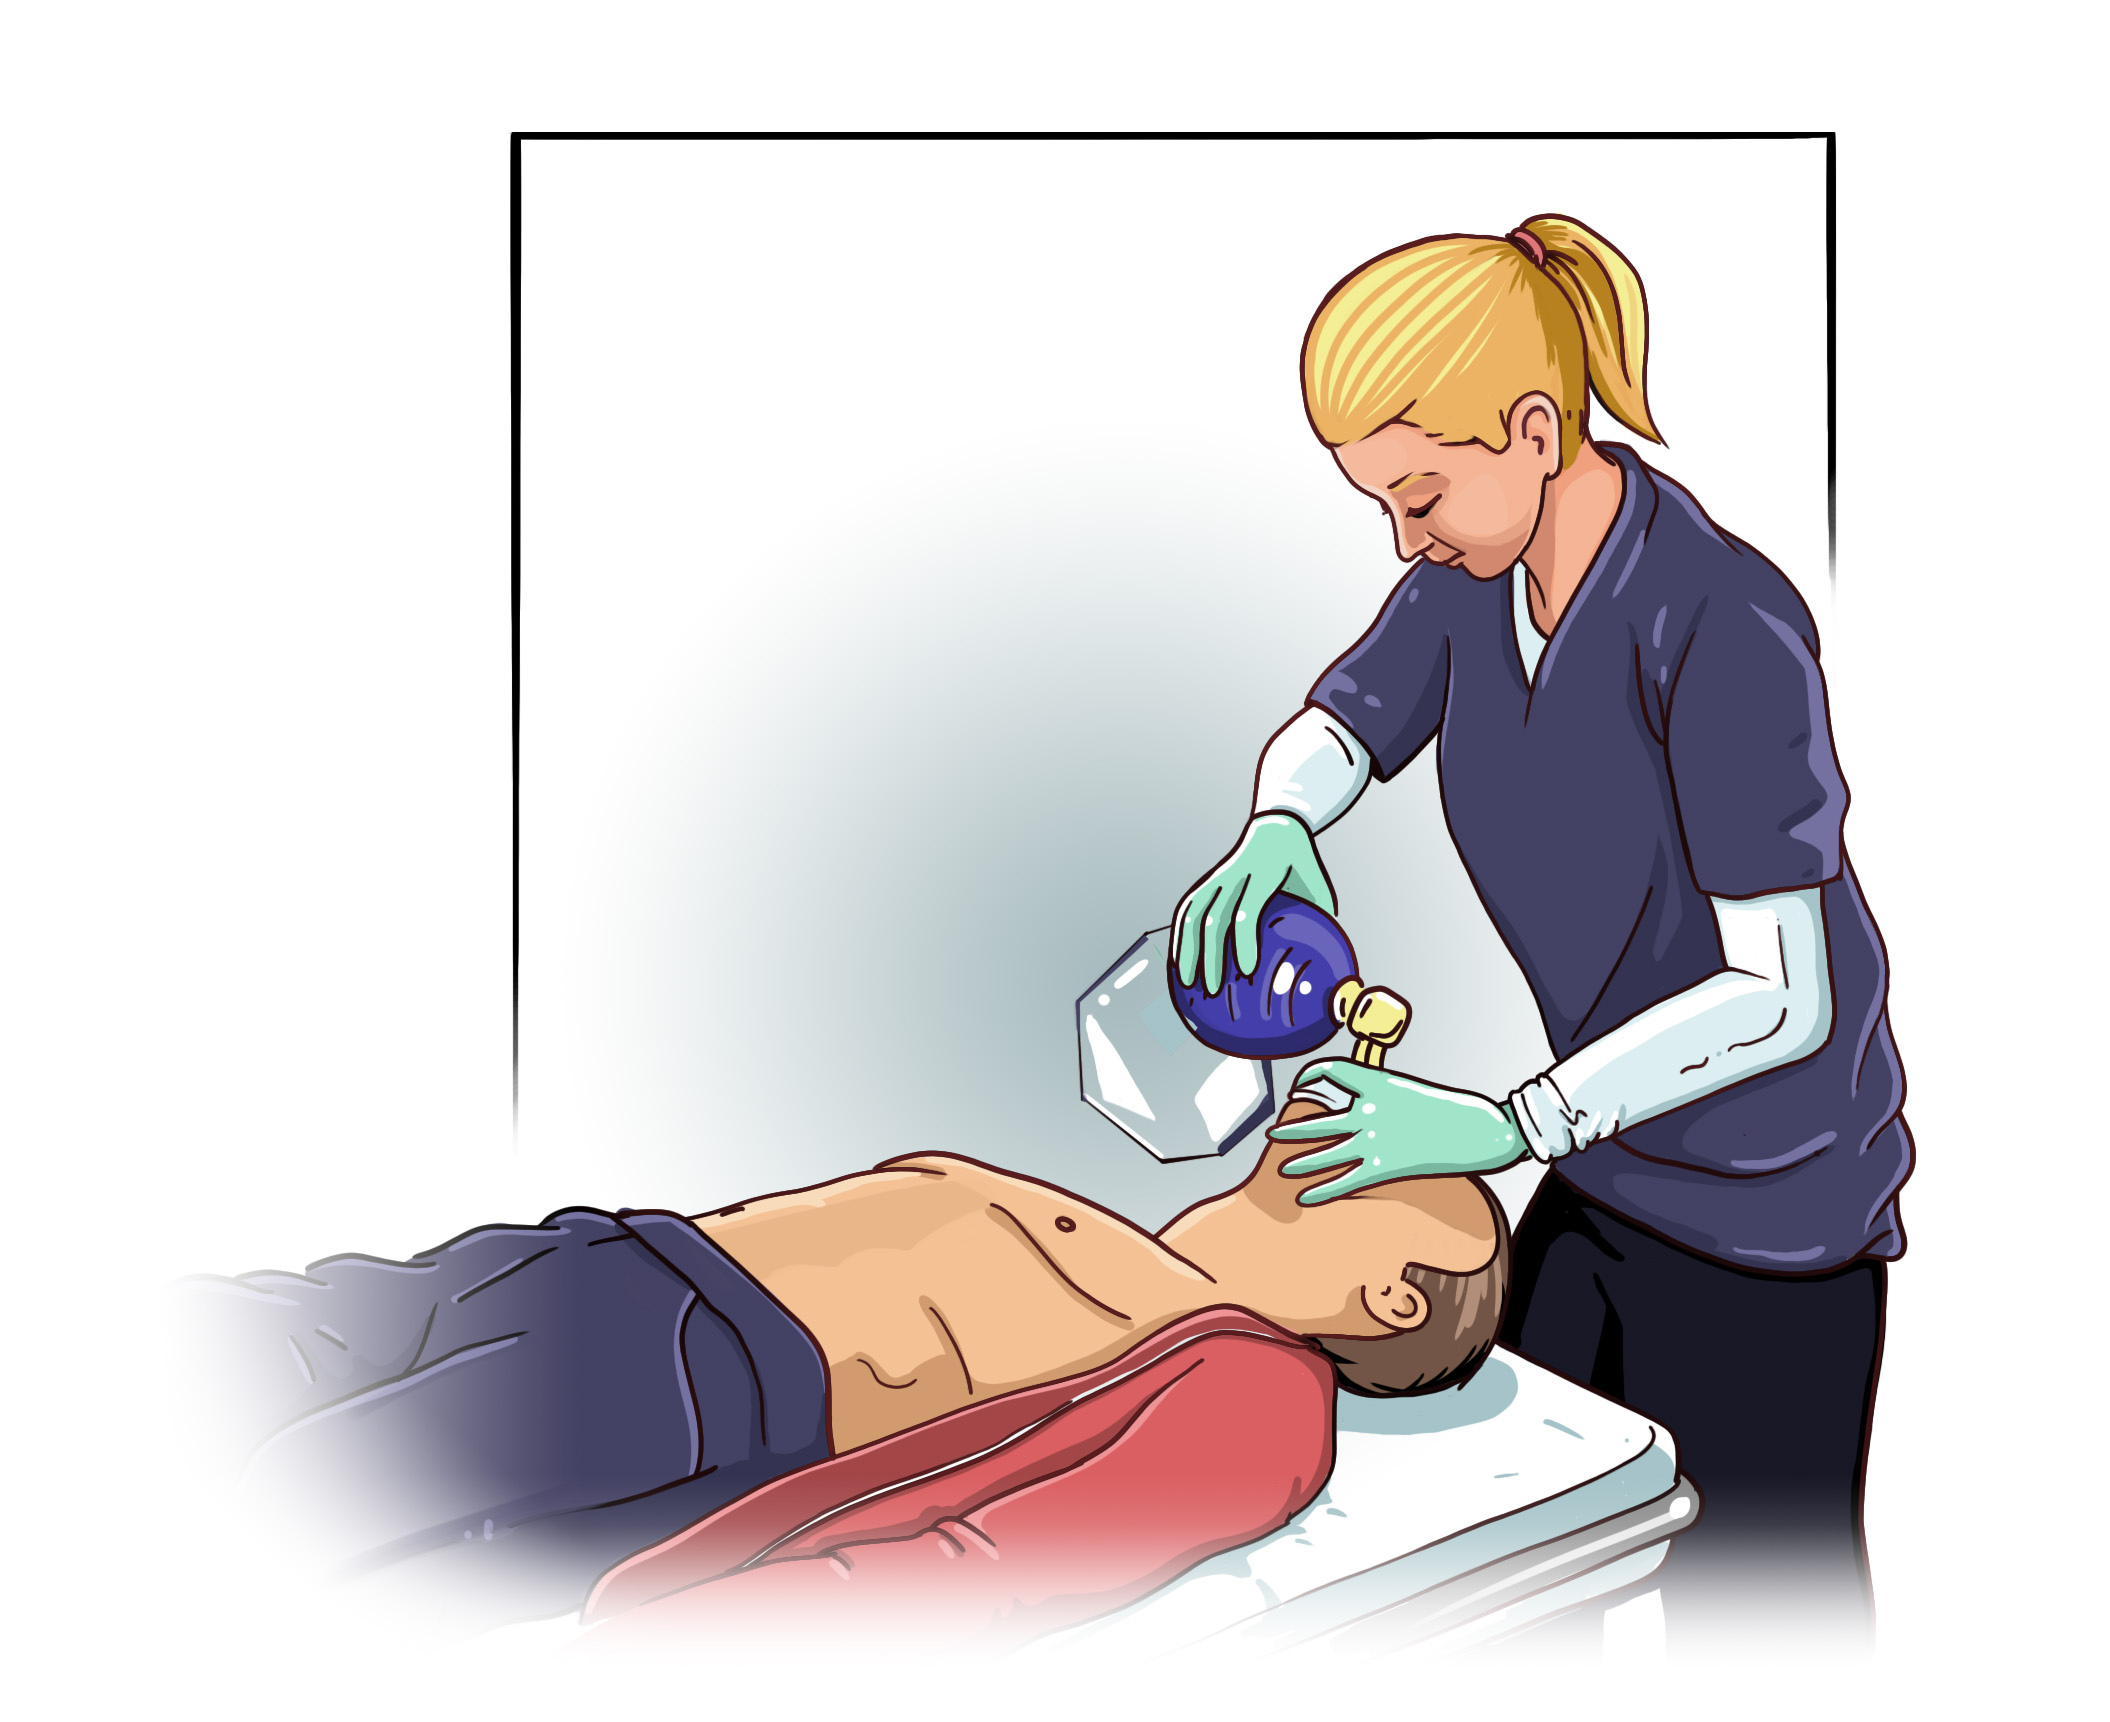
Bag mask ventilation
Bag mask ventilation may look simple, but it is actually a difficult skill to master. Effective bag mask ventilation requires proper technique. Most importantly a tight seal must be formed between the patient’s mouth and the device. Moreover, the airway must be kept open using the devices and/or techniques described above. Lastly, the rescuer must make sure to provide proper ventilation, which means delivering the proper volume, rate, and rhythm of ventilation.
In novice hands, bag mask ventilation should be performed using the two hand technique, which requires two providers. One provider uses both hands to make a tight seal with a mask while the other delivers the ventilation. Expert providers may be able to use the single hand technique in which one hand is used to maintain a tight seal while the other hand delivers ventilation.
Endotracheal intubation
Endotracheal intubation should only be performed by expert providers including physicians and certified registered nurse anesthetists, among select others. Therefore, a detailed explanation of endotracheal intubation is beyond the scope of this training module. Nonetheless, it is important to recognize the latest AHA guidelines do not recommend cricoid pressure for routine intubations. This is an important point for people who will assist expert medical providers during the intubation process.
Mastering airway management is fundamental to effective resuscitation and advanced cardiac care. Gain the skills to maintain and secure airways in critical situations with ACLS certification online.
- 100% Online Training
- 3 Exam Attempts
- 2 Year Certification
- 100% Online Training
- 3 Exam Attempts
- 2 Year Certification
- 100% Online Training
- 3 Exam Attempts
- 2 Year Certification
- 100% Online Training
- 3 Exam Attempts
- 2 Year Certification
Pricing for New Customers Only
- Latest ECC & ILCOR Guidelines
- No Skills Test Required
- 24/7 Online Access
- Instant Card Access
- 2 Year Certification
